Custom Reports 101 – An Example from the Real World – Report on Software Updates in a Software Update Group.
Good day everyone, my name is Trevor Stuart. I am one of the authors and operational leads of moderncloudmanagement.com. Today I wanted to share a post on a real-world client request that came my way. To shed a little background, I am a typical Tech Guy– specializing in SCCM (12+ years), Windows 10 (RTM +), Azure (5+ years), and Cyber Security (learning and loving it). I work alongside Joe Anich (the original author and operational lead of moderncloudmanagement.com) daily for this customer.
Scenario:
Whilst I was on my way out for the evening, the manager I report to for this particular customer asked if I was able to create a custom report that quickly showed all software updates that were in a particular software update group – group it, and highlight the ones that have been modified/added since the last time the software update group had been deployed. Sounds simple right? Let’s dive right in to see if that’s true or not!
Technical Deep Dive:
First thing that must be accomplished is to identify where in the SCCM DB the data for this request is stored. Now I am not going to sit here and assume everyone reading this understands the SCCM DB Schema to an expert level, so I want to share a common trick I teach customers during training on custom report creation. There is a component in all hierarchies called SMS Provider, the provider essentially takes what you do in the SCCM admin console, which is normally executed in WQL, translates that to SQL and executes it against the DB. So, how does this help? Big time!
Go to: Software Library – Software Updates – Software Update Groups – Double click your SUG to show the members of it.
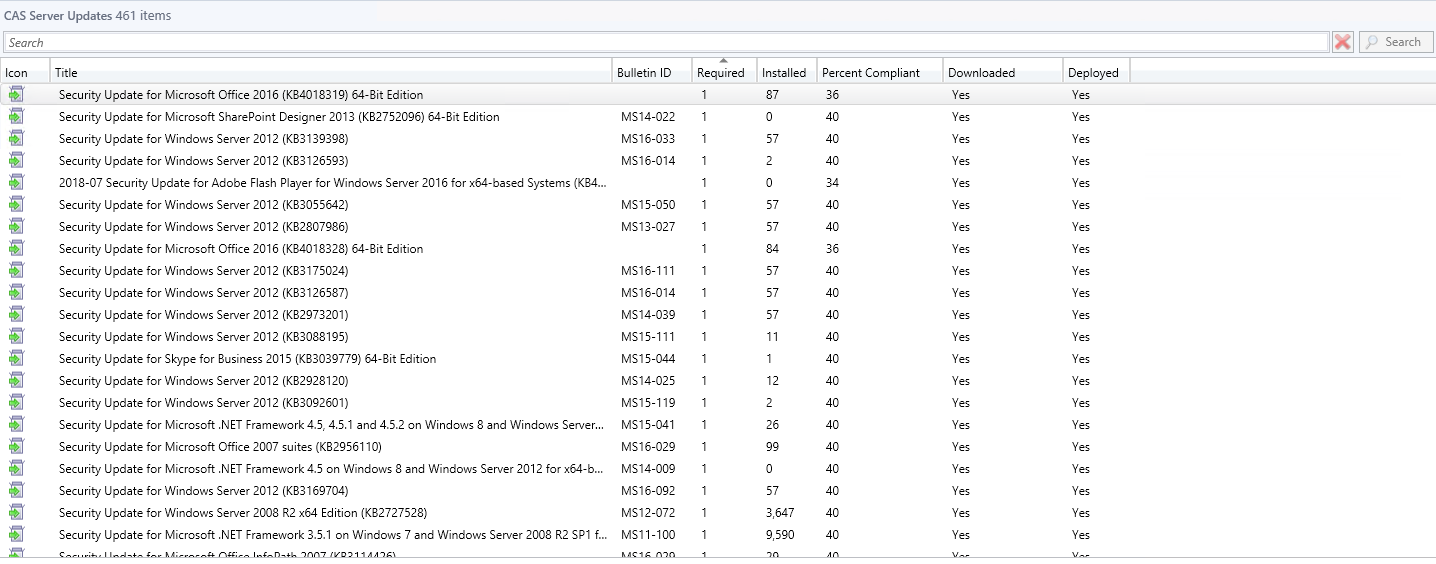
This is the content you’re looking to identify, now quickly go to your log directory on you site server <installation directory>\Program Files\Microsoft Configuration Manager\Logs – within that directory you will see SMSProv.log – open it. 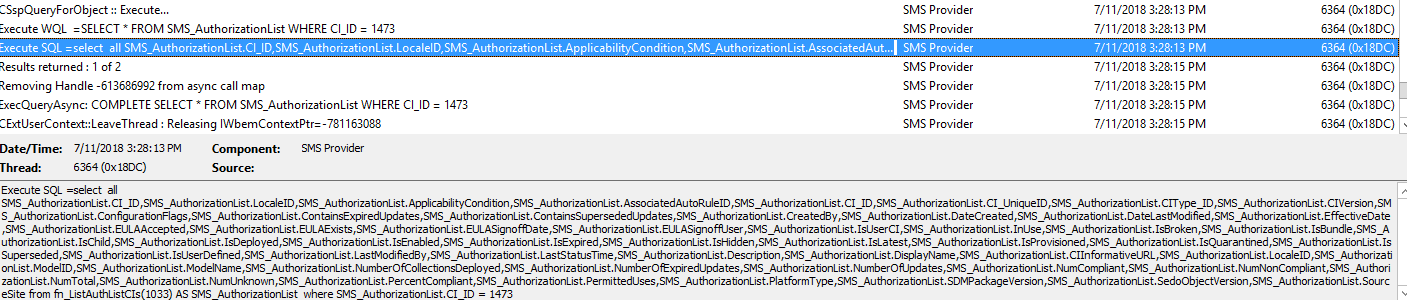
You can see from the highlighted line the precise SQL command that SMS Provider is executing against your DB to bring you what you visually see in the console. Here we are seeing all the columns it’s selecting and most importantly where it’s selecting this information from within the DB. Keep this log up on that line – we will need it later.
Moving on, you will need to open up SQL Server Management Studio and make a connection to your Site DB. Once connected go ahead and open up a new query window. I normally start off by doing a few “Select *” statements from the views I see within the SMSProv.log execution like below:
Text:
select * from vSMS_SoftwareUpdatesPackage_List
select * from vSMS_CIRelation
select * from v_AuthListInfo
select * from v_CIToContent
Returned Results:
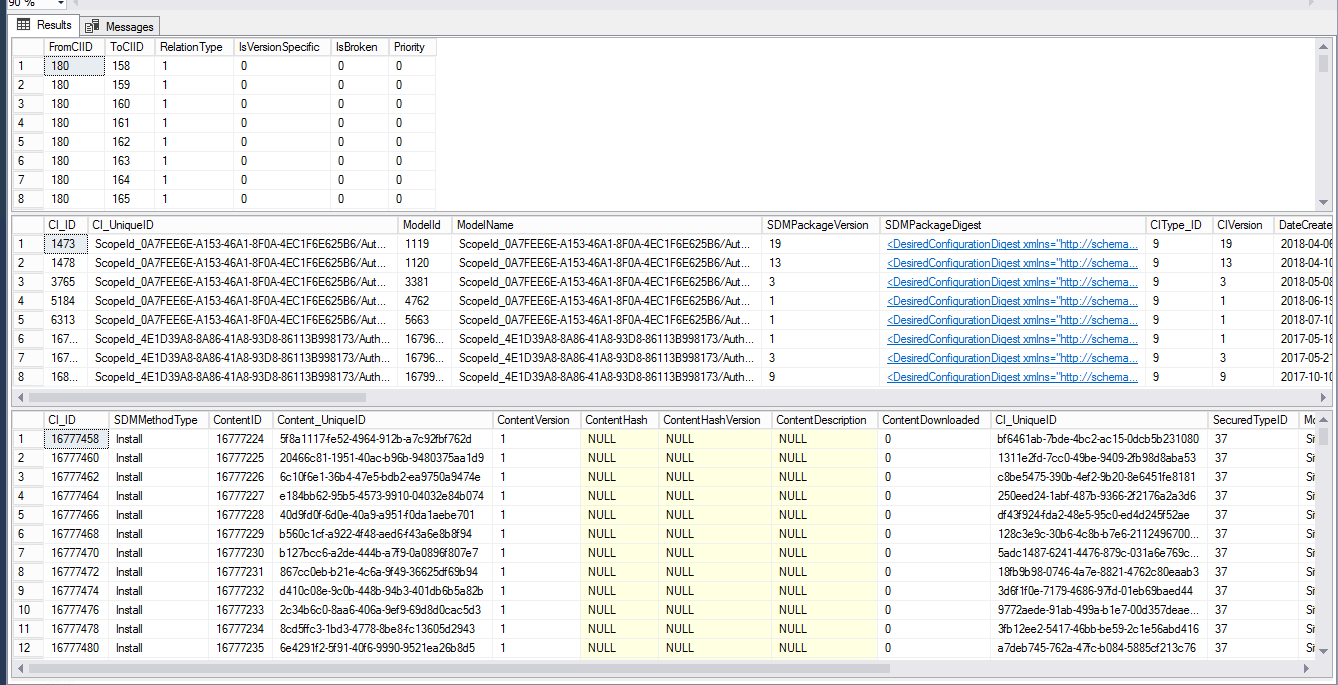
As you can see here most of our information comes from these four views. Now what we must do is start pruning out what we do not need vs what we are trying to obtain in order to start forming this custom query to then build a report from. What you can learn from these select statements is your Name, CI_ID, etc. all of which will be crucial to the success of this report. I was quickly able to identify the CI_ID that I wanted to target along with sorting by date released to meet the other requirement from the customer.
Text:
select distinct
upd.articleid,
upd.bulletinid,
upd.DisplayName,
upd.severity,
upd.DateCreated,
upd.IsSuperseded,
upd.IsExpired,
upd.DateLastModified,
al.Title,
al.ci_id
from vSMS_CIRelation as cr
inner join fn_listupdatecis(1033) upd on upd.ci_id = cr.tociid and cr.relationtype =1
inner join v_CIToContent cc on cc.CI_ID=upd.CI_ID
inner join v_AuthListInfo al on al.ci_id=cr.FromCIID
where al.CI_ID = 1473
order by upd.DateCreated desc
Results (461 Rows Returned which match what we visually saw in the SCCM Console):
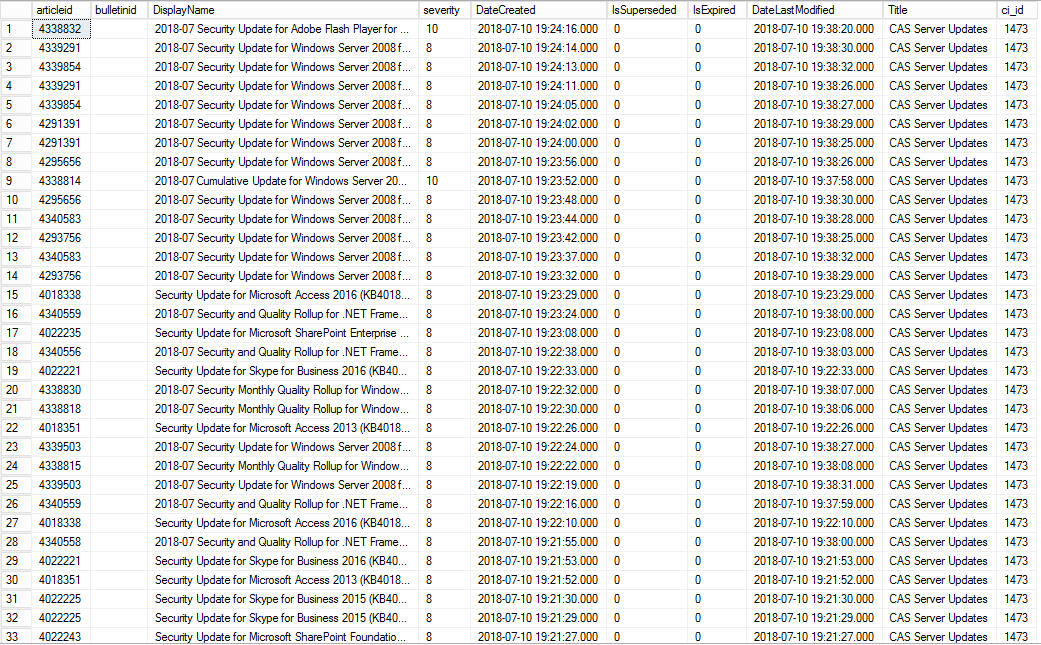
The above results provided me with everything I needed from a requirement perspective. So, at this point I know that I’m clear to move onto Report Builder, merely copying the query and taking it with me.
Next up we will open Report Builder (don’t worry, Report Builder isn’t all that difficult after all you’ll shortly see!), and follow the Wizard below:
1. Within “New Report” – Click “Table or Matrix Wizard”, that will bring up the following window:
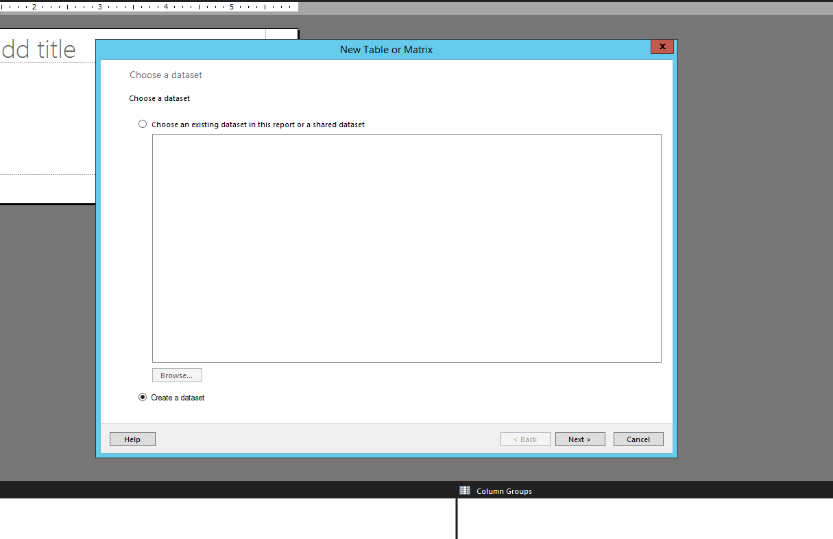 2. Allow “Create a dataset” to remain selected and click Next. This will bring the following window:
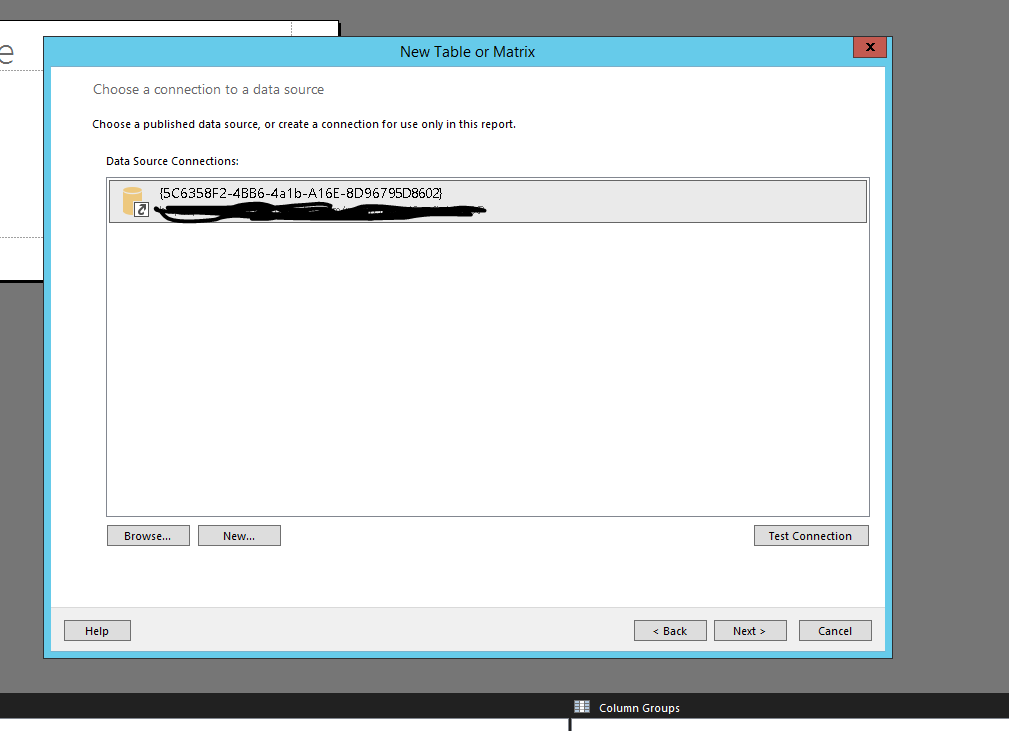 3. It should automatically identify the data source that’s mapped to your report server, at this point click “Next” and that will bring you to the following window:
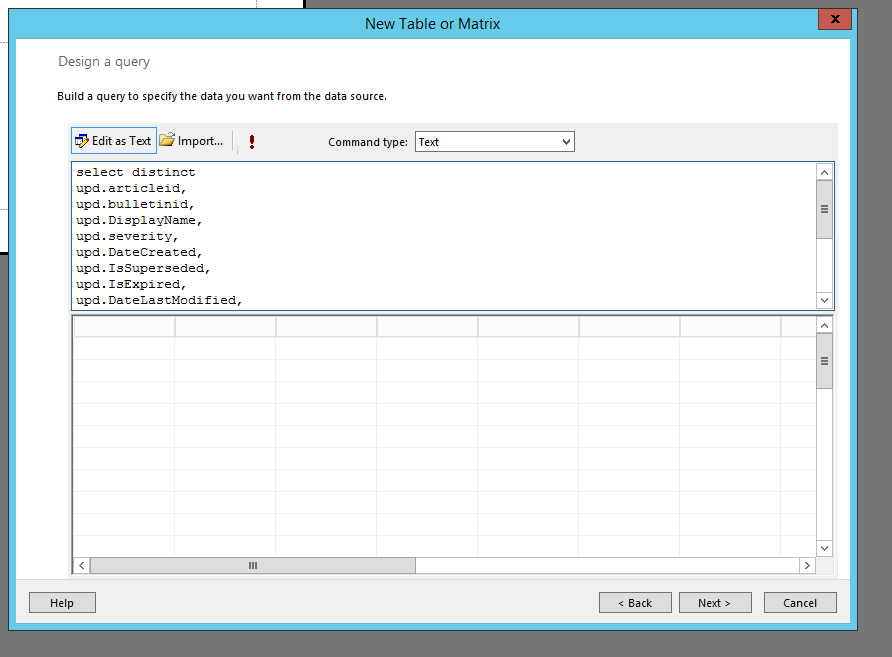
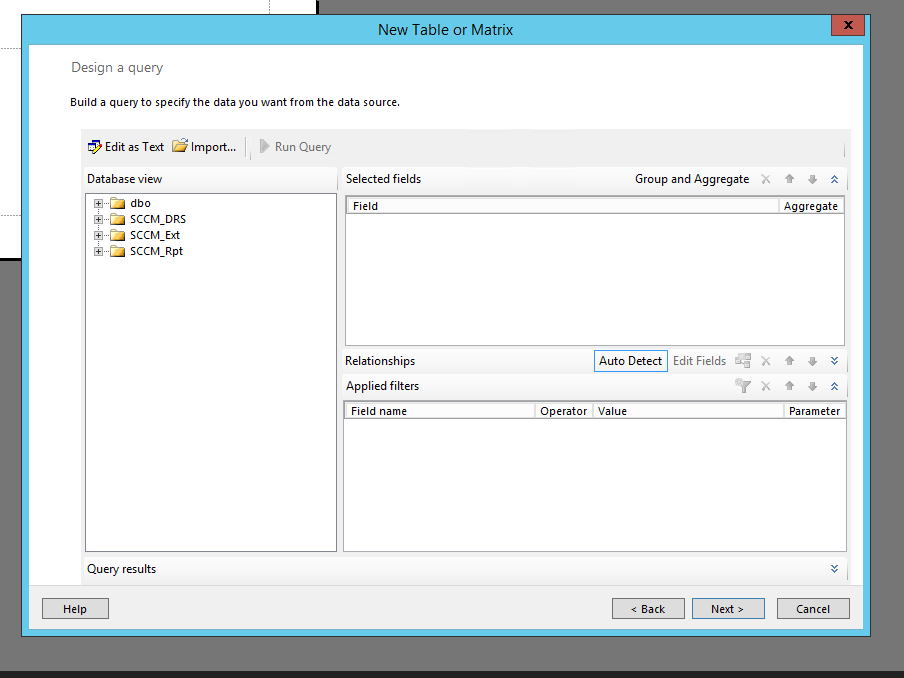 4. Now we are getting somewhere! At this point you will select “Edit as Text” which will bring you to the following window:
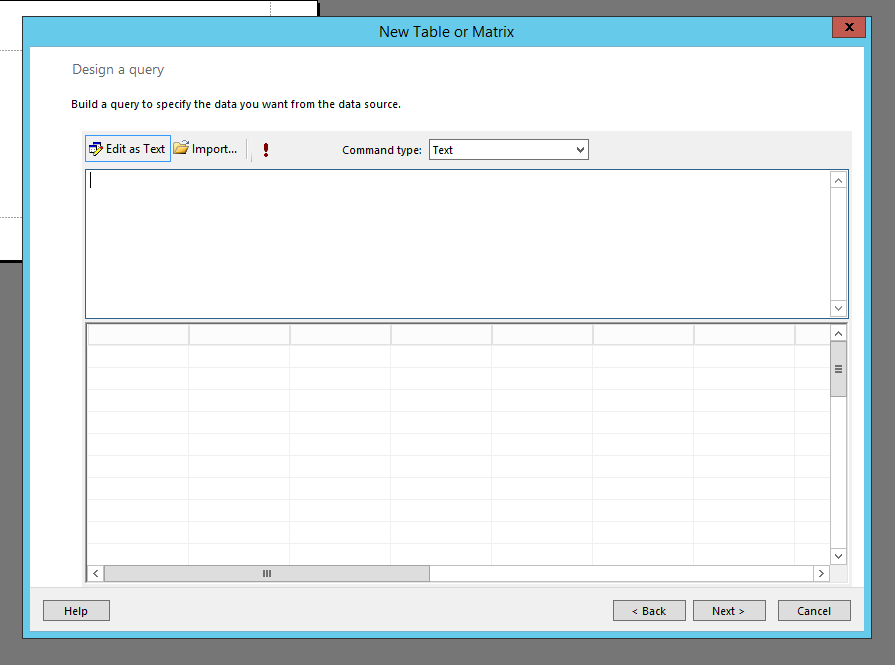 5. Remember that query we created in SQL? Let’s go ahead and copy and paste that into this window like the following:
 6. After successfully pasting, please click “Next” and you’ll be presented with the following window:
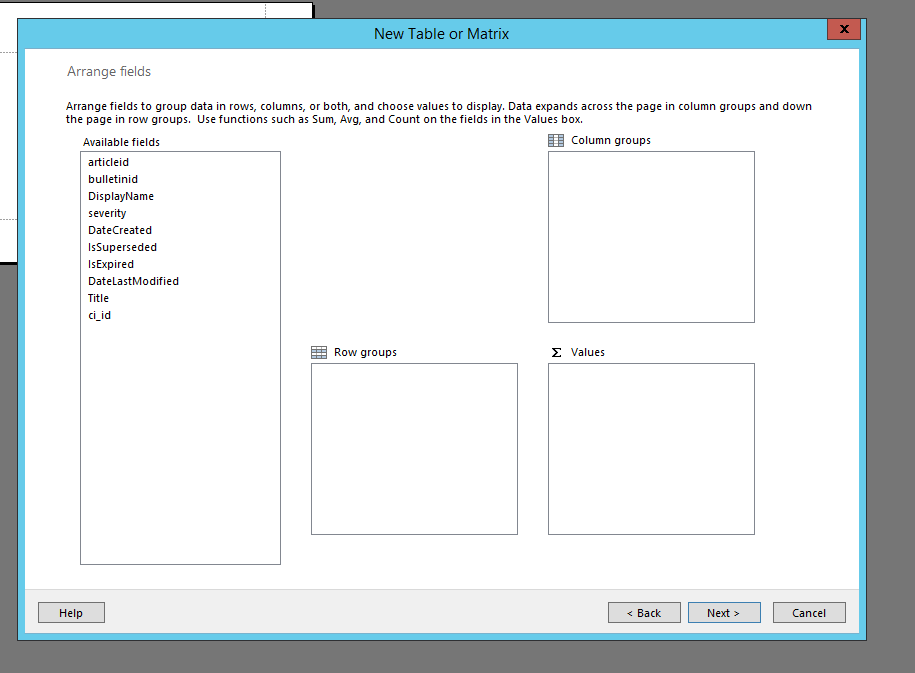 7. You will see numerous available fields in which you will be able to drag and drop into Columns, Rows, or Values. For basic configurations I normally just drag the appropriate fields into the “Values” box like below:
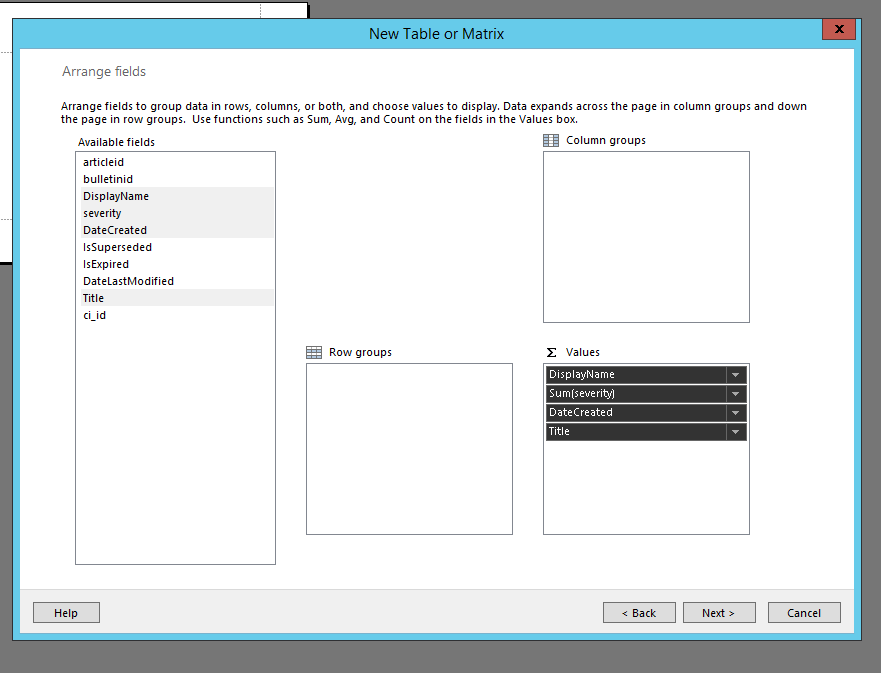 8. Once the desired fields are in “Values”, click Next and you’ll see the following screen:
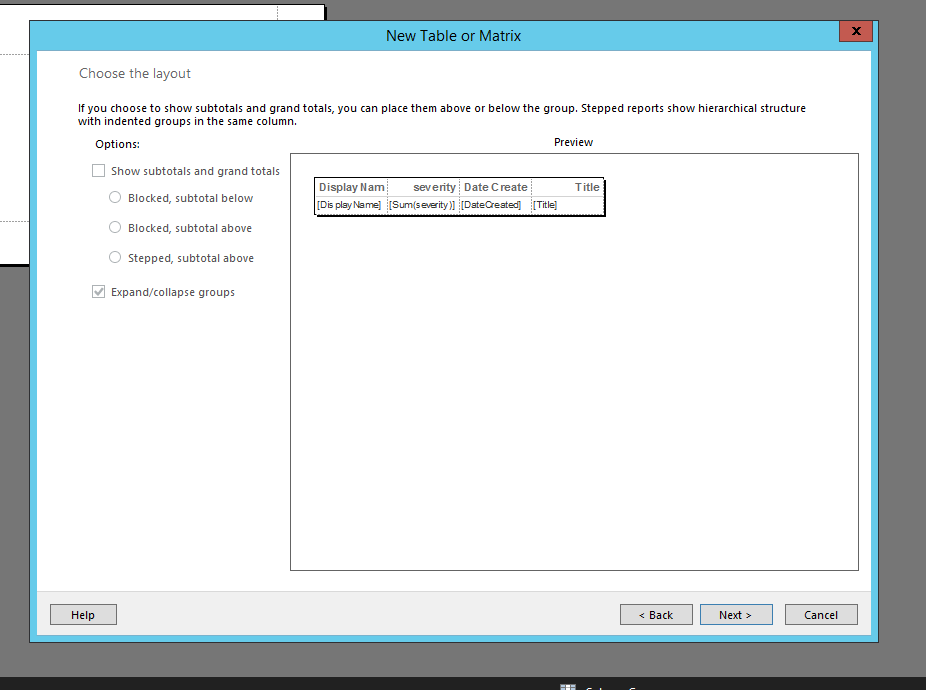
This will provide you a high-level look at what you’re table will look like once completed – go ahead and click “Next”, then “Finish” on the following screen.
9. You’ll now be brought into the Report Designer window where you will see the beginnings of your report!
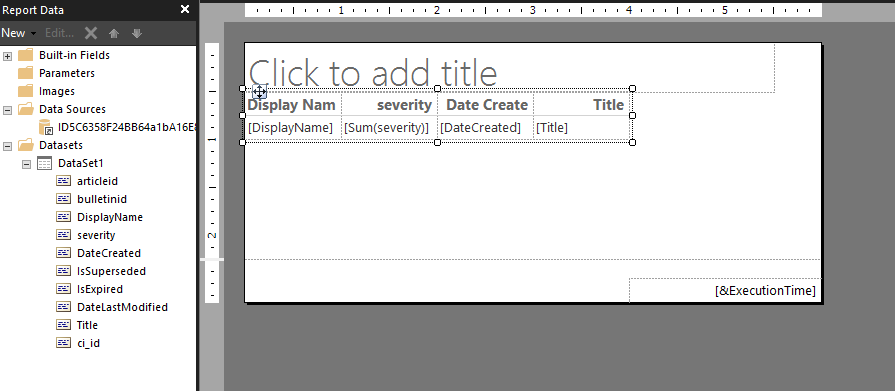 10. From this point on you can customize the look and feel of the report as you deem fit. I normally expand the size so that all of the information is presented in a readable manner, I change the fonts, alignment, and add custom branding per each customer. At the end – the results look like the following (Customer Scrubbed Out):
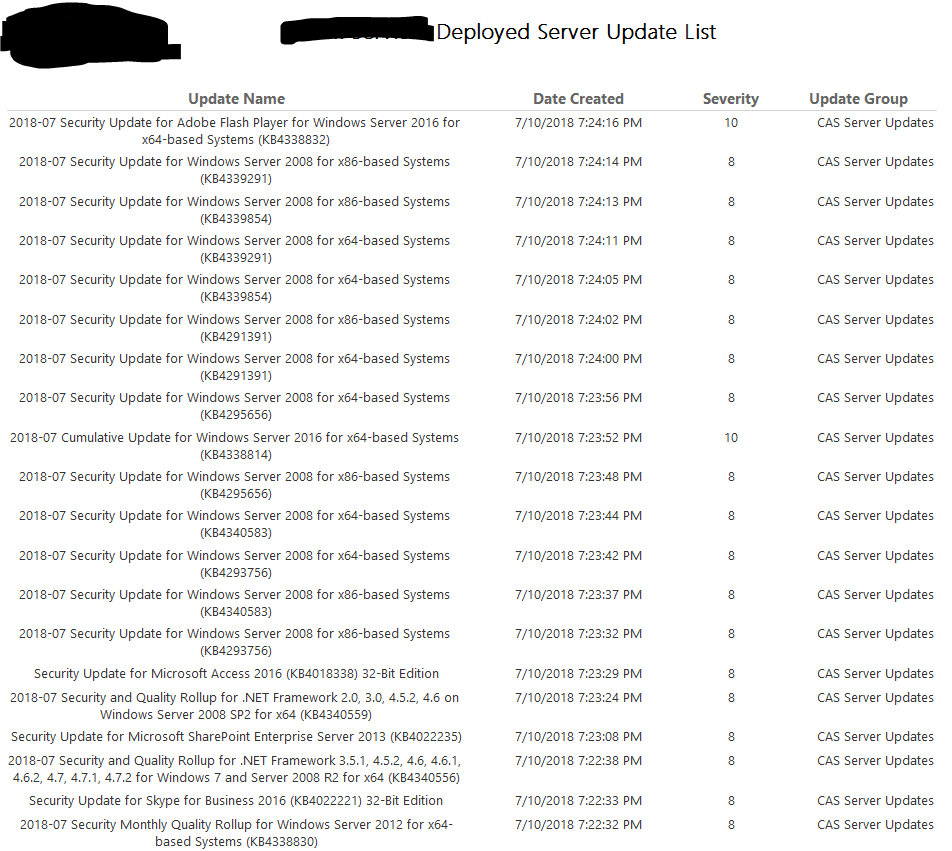 11. Finally, go ahead and save the report where you’d like within your report server and you’re officially complete!
I was able to provide the URL where this report can be run to the manager of this customer, with all requirements met, and accepted! I have various other custom SQL queries that I will be posting at a later date, but feel free to request custom SCCM reports here: Custom SCCM Report Requests & Discussion – and we will do our best to provide the SQL statements for the data you’re trying to obtain.
Thanks for your time! Like, and share! See you all soon.
- Trevor